


Observe ZDNET: Add us as a most popular supply on Google.
ZDNET’s key takeaways
- A system picture can prevent from catastrophe.
- System imaging backs up your complete PC — OS and all.
- Clonezilla is a free device to create system photos.
Have you ever ever had that sickening feeling in your intestine when you realize your pc is simply days or even weeks away from dying an premature demise? I have been there a number of instances over the a long time.
When the eventuality involves go, except you have got an excellent backup of your information, you might be in for a protracted and irritating uphill battle.
Having your information backed up is one factor. Realizing that you simply additionally might need to buy a brand new system, set up all the apps you want, discover the licenses that go together with these apps, and configure your working system as you had it may be a frightening activity.
However what if you happen to may do a backup of your pc that features all the pieces? Working system, settings, apps, accounts… all the pieces? Now, think about you have got such a backup, and you buy a brand new pc, solely to have to revive that backup to the brand new system, and also you’re again to the place you left off, not skipping a beat.
That is the type of backup that I am speaking about.
It is referred to as a picture.
Additionally: The most effective Linux distributions for novices: Professional examined and reviewed
You create a picture of the present state of your system, understanding that you should use that picture to revive a brand new machine to precisely the place your previous system was earlier than it conked out.
That is really simpler than you assume, due to a device referred to as Clonezilla.
Clonezilla is actually a stripped-down model of Linux that you simply boot after which create a picture of your Linux, MacOS, or Home windows machine, saving it to an exterior drive. When it is advisable to restore the picture to a distinct machine, you join the exterior drive housing the picture, boot up Clonezilla, and run the restore.
Now, there are some things it is advisable to find out about this primary:
It’s a must to create a bootable USB drive with Clonezilla for this to work.
The vacation spot (new) machine has to have the identical structure because the supply machine (in different phrases, you’ll be able to’t restore an Intel picture to an AMD pc)
The drive on the brand new machine must be the identical measurement or bigger than the unique.
In case your system makes use of UEFI safe boot, you could use the AMD64 (X86-64) model (both Debian-based or Ubuntu-based) of Clonezilla reside.
Additionally: My prime 5 user-friendly GUI backup instruments for the Linux desktop (and why you want one)
I will stroll you thru the method of making a picture of your present machine with Clonezilla. Take into account that Clonezilla is an ncurses-based (which is text-based), however it’s not difficult in any respect.
Making a backup picture with Clonezilla
Earlier than you do that, make sure that the exterior drive that can home the picture is linked to your PC. Reboot the machine to be imaged utilizing the newly-created USB drive.
Present extra
On the first display screen of the Clonezilla wizard, make sure that Begin Clonezilla is highlighted and hit Enter in your keyboard.
Present extra
The ncurses-based UI is nothing to concern.
Jack Wallen/ZDNET
Within the subsequent window, it is advisable to choose the mode you need to use. In our case, we wish device-image.
Present extra
You may as well choose to clone a distant supply with Clonezilla.
Jack Wallen/ZDNET
Within the subsequent display screen, you could specify the vacation spot for which the picture will probably be housed. Since we’re utilizing an exterior drive, choose local_dev.
Present extra
You may as well save the picture to a distant machine if you happen to want.
Jack Wallen/ZDNET
Within the subsequent window, choose the exterior drive that can home your picture and hit Enter. In my instance, I am operating Clonezilla as a digital machine (so I can take screenshots), and there is just one drive to pick out.
Present extra
I am operating this on a digital machine so I can take screenshots.
Jack Wallen/ZDNET
End the wizard
At this level, I will describe the subsequent few steps for you (as they’re much like what you skilled above). The subsequent screens of the wizard are as follows:
- Choose the consumer mode: Select Newbie.
- Choose the picture sort: Select savedisk.
- Identify the picture: Now you can title the picture to be saved. I might counsel including the date to the title, so you realize when the picture was created.
- Select the supply disk: You’ll be prompted to pick out which disk is to be imaged. This ought to be the drive that homes your OS and information.
- Choose the compression stage: Select between z1p and z9p. You probably have a contemporary machine, I might counsel going with z9p. Z1P presents the bottom compression stage, whereas Z9P is the best. Z9P ends in higher compression ratios, however requires extra processing energy and time in comparison with Z1P.
- Verify or no verify: Choose if you wish to first run a verify/restore on the system earlier than saving it. This selection solely works on Linux, so if you happen to’re imaging a Home windows machine, make sure that to pick out sfsck (to skip the verify/restore).
- Verify the picture: Now you can instruct Clonezilla to verify the saved picture to make sure that it is restorable. For that, choose Sure and hit Enter.
- Encrypt or not: You may as well select to encrypt your picture (for safety functions). Take into account that if you don’t keep in mind the passphrase used for the encryption, you won’t be able to revive your picture.
- Log information: You may as well choose to repeat log information to a Clonezilla reside USB drive. Simply hit Enter right here.
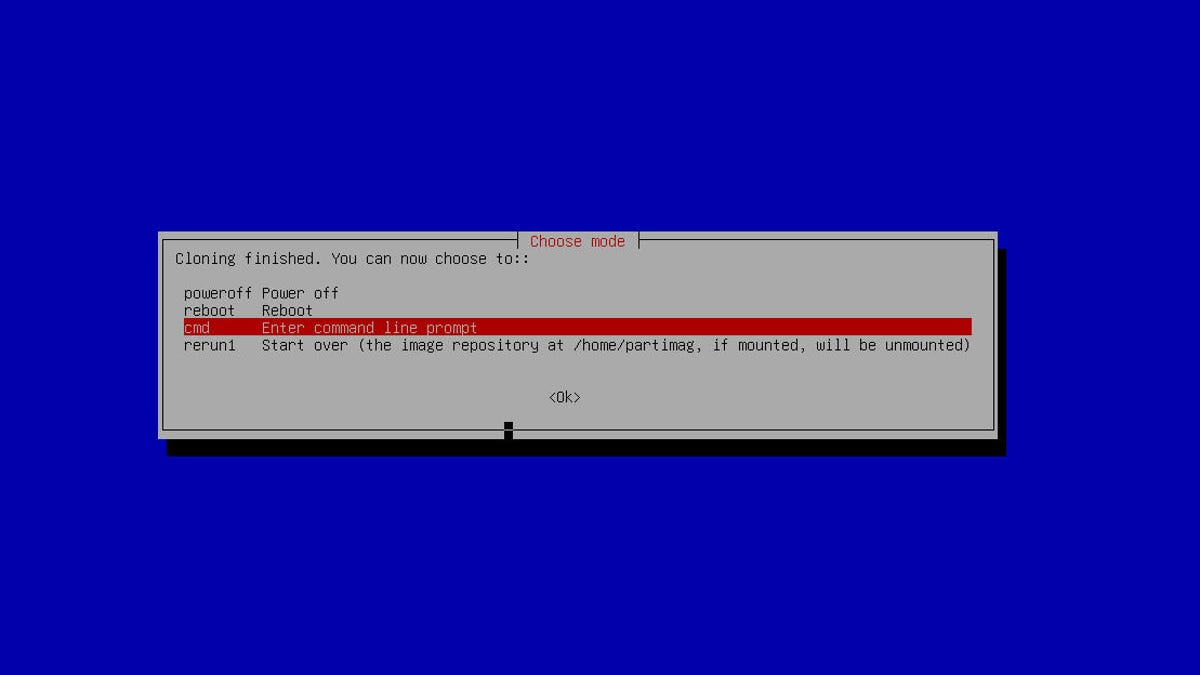
- What to do when finished: Instruct Clonezilla on what to do when the imaging is completed. You may both choose to enter the command immediate, reboot, or shut down.
- Let ‘er rip: You will be prompted to hit Enter to begin the method.
Relying on how a lot information is on the drive to be imaged, this may take a while. Step away out of your desk and do one thing else. When the imaging is completed, Clonezilla will both drop to the command immediate, reboot the system, or shut it down (relying on how you’ve got configured it).
When the cloning is completed, take away the exterior drive and place it someplace secure.
Remember information backups
The information in your system can even be imaged. Have in mind, nonetheless, that if you happen to use your machine after the imaging is completed, the information could have modified. Due to that, I additionally counsel you do incremental backups of your information. By doing this, you may be sure that after restoring the picture to a brand new machine, you may have the most recent information to revive as nicely.
Additionally: 5 command line backup instruments each Linux consumer ought to use for desktops and servers


